Prices good until
Days
Hours
Mins
Secs
Prices good until
Days
Hours
Mins
Secs


Taking on a DIY kitchen renovation can save homeowners thousands of dollars, but achieving a showroom-quality finish requires precision, patience, and the right techniques. By cutting out the middleman and handling the installation yourself, you can allocate more of your budget to premium materials rather than labor costs. At USA Cabinets, we believe that with professional-grade guidance and high-quality stock cabinetry, any motivated DIYer can transform their home and build equity with confidence.
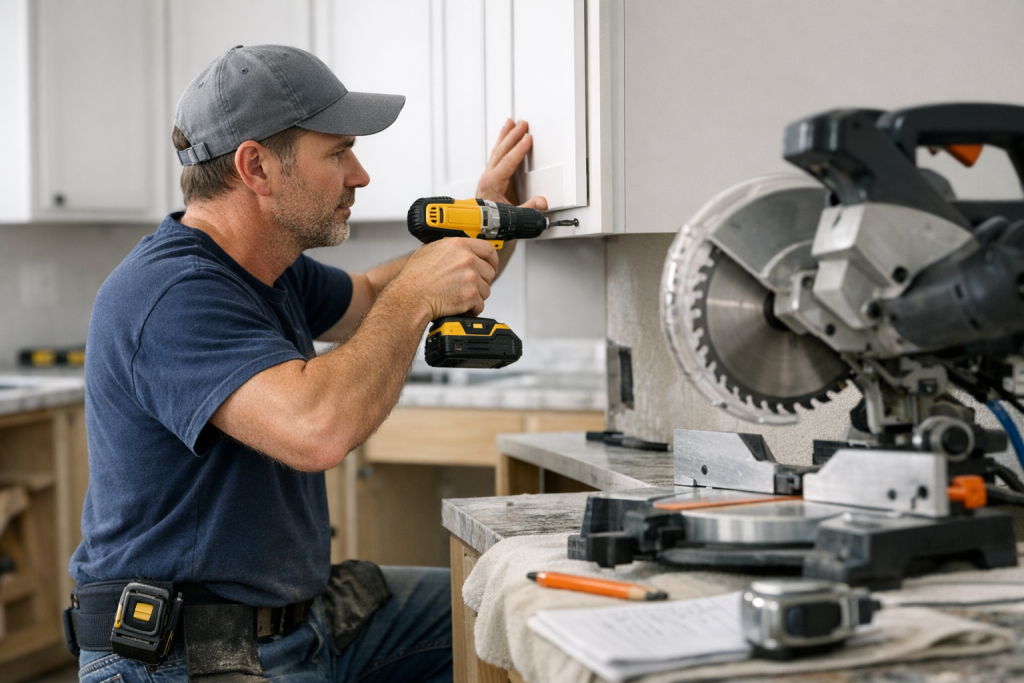
Successful cabinet installation begins long before the first screw is driven. Professional installers spend approximately 40% of the total project time on planning, measuring, and layout. Neglecting this phase often leads to compounding errors that are difficult to correct later.
Having the correct tools on hand prevents unnecessary delays and keeps your work precise. While a standard toolbox is a good start, specific cabinet installation tools are non-negotiable for a professional result.
Essential Tool Checklist:
| Tool Category | Specific Item | Purpose |
|---|---|---|
| Measuring | 25′ tape measure, 4′ & 6′ levels | Checking plumb and level alignment |
| Fastening | Cordless drill/driver, #8 & #10 bits | Driving screws and drilling pilot holes |
| Clamping | 2-4 Bessey clamps | Holding face frames flush during fastening |
| Cutting | Miter saw, jigsaw | Trimming toe kicks and fillers |
| Detection | Stud finder | Locating wall framing for secure mounting |
Unlike flat-pack options that require hours of assembly before installation begins, USA Cabinets’ pre-assembled units reduce your tool requirements and prep time considerably. Because our cabinets arrive ready to hang, you can skip the complex assembly jigs, wood glue, and extensive workspace needed to build boxes from scratch, allowing you to focus entirely on the installation layout.
Precision measuring is the foundation of a square and level installation. You must map out the high point of your floor, as this determines the baseline for all cabinets.
A clean slate is vital for efficiency. Remove all old cabinetry, appliances, and baseboards. If you are installing new flooring, it is generally best to install it wall-to-wall before the cabinets. However, if you are keeping existing floating floors, cabinets should be installed on the subfloor to prevent pinning the flooring.
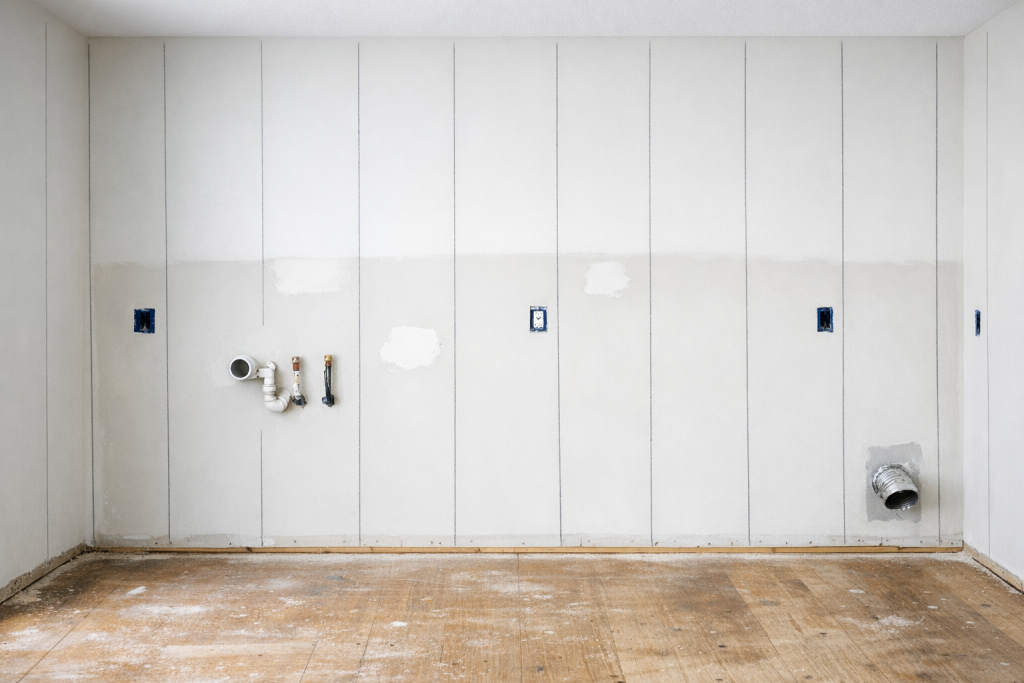
Make sure your rough-in plumbing and electrical work are complete. Verify that electrical boxes fall within the cabinet voids or back panels as planned. Patch any major drywall holes, though minor damage behind the cabinets does not need a perfect finish. Finally, locate and mark every wall stud with a vertical line extending from the floor to the ceiling so you never miss a solid anchor point during the install.
Industry best practices dictate installing upper cabinets (wall cabinets) before base cabinets. This approach prevents you from having to lean over deep base units, reducing the risk of damaging your lower cabinets or straining your back.
Gravity is the enemy of kitchen cabinets, so anchoring into structural framing is critical. You cannot rely on drywall anchors for cabinetry.
Begin installation in a corner. If you don’t have a corner, start in the center and work outward. Lift the first cabinet onto the ledger board, check for plumb (vertical straightness) and level (horizontal straightness).
Installation Process:
USA Cabinets’ solid wood frames provide superior screw holding power compared to MDF or particle board frames found in big-box store brands. This solid hardwood construction means that when you fasten cabinets together, the screws bite deeply and hold tight, preventing the face frames from separating or cracking over time.
Base cabinets carry the weight of your countertops, sink, and appliances, making their structural integrity and leveling paramount. A deviation of just ¼ inch can cause countertops to crack or appliances to fit poorly.
Start at the highest point of the floor you identified earlier. The first cabinet placed here will sit directly on the floor, while all other cabinets will need to be shimmed up to match this height.
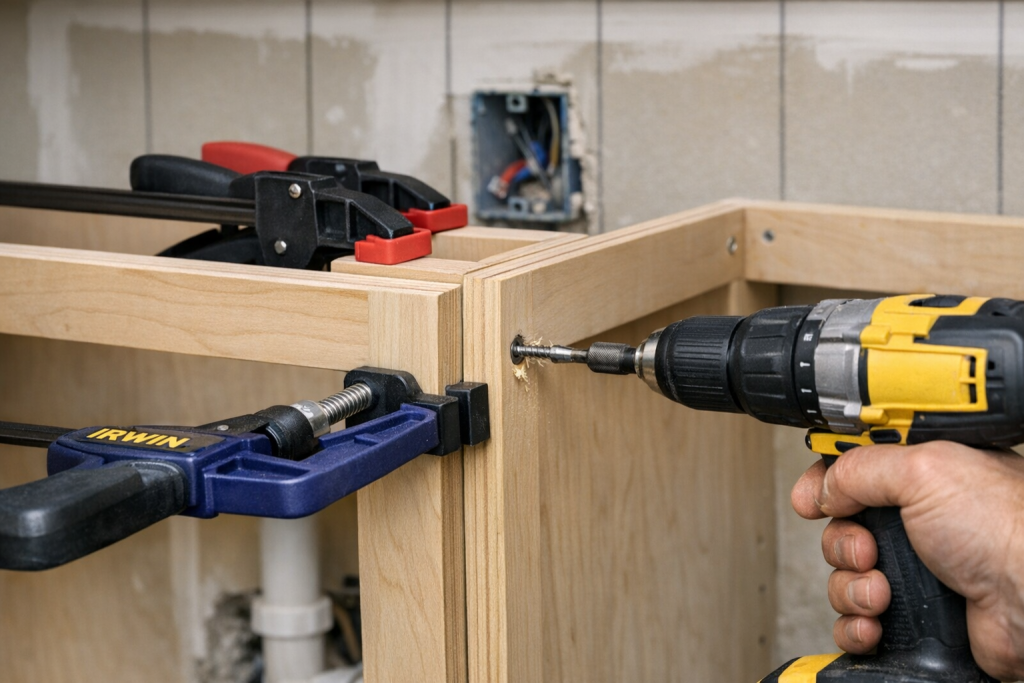
Once leveled, secure the base cabinets to the wall studs using the same method as the uppers. However, the connection between cabinets is equally important for a monolithic, sturdy structure.
Connecting Frames:
This step highlights a critical quality difference: USA Cabinets’ plywood construction provides stronger cabinet-to-cabinet connections than particle board. Particle board often crumbles or strips when screws are torqued, compromising the joint. Our high-grade plywood boxes maintain their structural integrity under pressure, giving your durable materials a solid foundation for heavy countertops.
The difference between a “DIY look” and a professional installation often lies in the final adjustments and trim work. Once all boxes are mounted, focus on aligning doors and drawers.
One major advantage of choosing our brand is that USA Cabinets includes soft-close hardware standard, eliminating post-installation upgrade needs. While other retailers charge extra for soft-close hinges and drawer glides (often requiring you to swap them out yourself), our cabinets come pre-equipped with premium hardware for smooth operation and a high-end feel from day one.
Installing your own kitchen cabinets is a rewarding project that builds real value in your home. By following these steps, planning carefully, leveling precisely, and securing firmly, you can achieve results that rival professional contractors.
You don’t have to tackle this process alone. USA Cabinets offers wholesale pricing and expert support for successful DIY projects. Whether you need help with the initial layout or advice on a tricky corner install, our team is dedicated to helping you build the kitchen of your dreams at a fraction of the retail cost.
The rule suggests placing knobs or pulls roughly one-third of the way up from the bottom of a cabinet door or one-third down from the top for optimal aesthetics and leverage.
With basic carpentry skills, the right tools, and patience, installing cabinets is a manageable DIY project for most homeowners.
Use a 4-foot or 6-foot level to check horizontal (level) and vertical (plumb) alignment, using shims to adjust the cabinet position before fastening it to the wall.
Common errors include failing to locate the floor’s high point, not screwing into wall studs, and neglecting to shim cabinets to account for uneven walls.
Use #10 cabinet screws with a large washer head, typically 2 ½ to 3 inches long, to securely fasten the cabinet to the wall studs.