USE Coupon USA10 For 10% OFF
Days
Hours
Mins
Secs
USE Coupon USA10 For 10% OFF
Days
Hours
Mins
Secs


Staring at those dated laminate cabinets and wondering if painting them is actually possible? The good news is yes—you can successfully paint laminate cabinets and transform your entire kitchen for a fraction of replacement costs. While painting laminate requires specific techniques and materials, thousands of homeowners have achieved professional-looking results that last for years.
This comprehensive guide will walk you through every step needed to paint laminate cabinets successfully, from selecting the right supplies to achieving a smooth, durable finish. You’ll learn the expert techniques that make the difference between a project that lasts and one that fails within months.
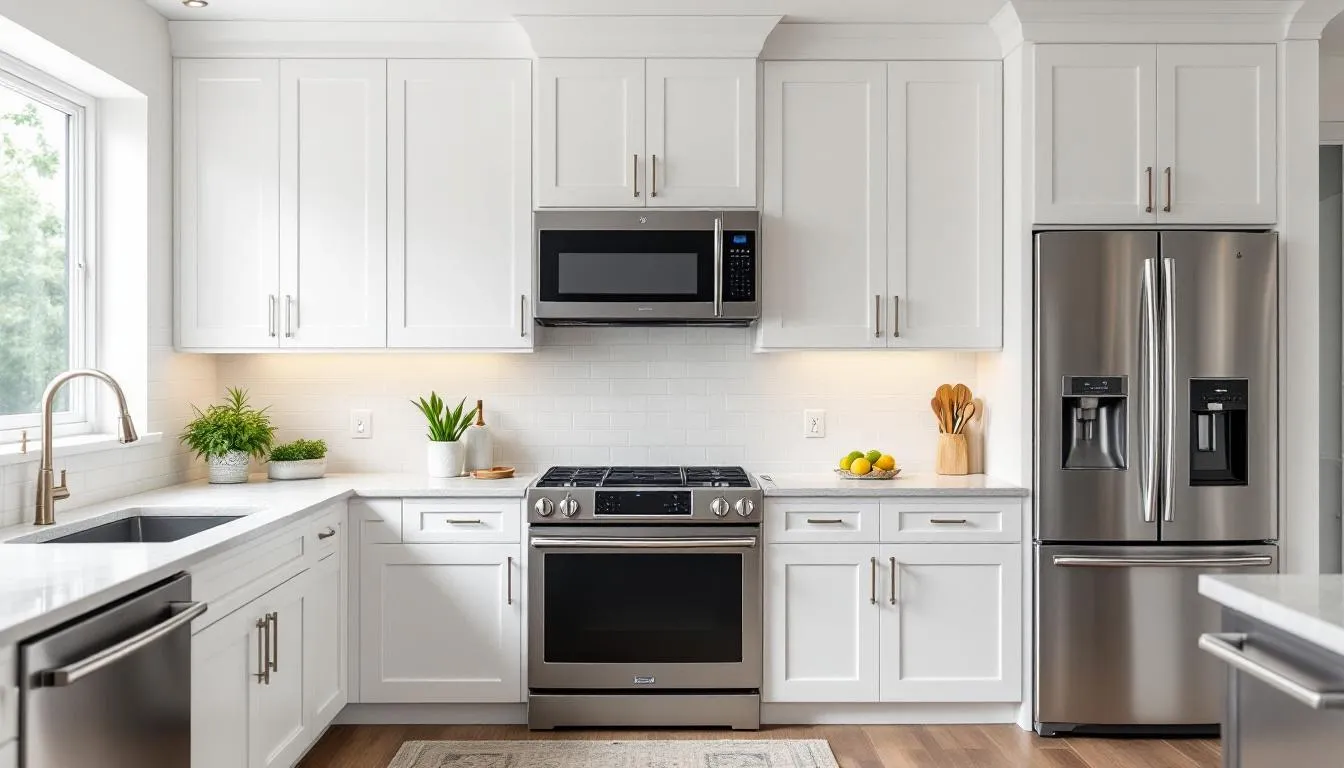
Yes, laminate cabinets can be painted with proper preparation and materials, but success depends entirely on using the right approach. The key challenge with laminate kitchen cabinets lies in their smooth, non-porous surface that standard primers and paints struggle to adhere to. However, with specialized bonding primers designed for non-porous surfaces like Zinsser Cover Stain or INSL-X STIX, you can create a strong foundation for long-lasting paint.
The secret to painting laminate successfully involves three critical factors: thorough cleaning to remove all grease and residue, light sanding to create mechanical adhesion, and applying a high-quality bonding primer before any paint. Skip any of these steps, and you’ll likely face peeling, chipping, or bubbling within months.
This approach offers a cost-effective alternative to cabinet replacement, saving $3,000-$8,000 compared to installing new cabinets. Professional cabinet replacement typically costs between $8,000-$20,000 for an average kitchen, while a DIY laminate painting project ranges from $150-$600 in materials. Even hiring professionals to paint laminate cabinets costs significantly less at $900-$3,800.
The key is managing expectations—painted laminate cabinets typically last 5-10 years with proper care, compared to factory laminate finishes that can last decades. However, this still represents excellent value when you consider the dramatic visual transformation possible.
Success in painting laminate cabinets starts with gathering the right supplies. Using inferior materials or skipping key products is the fastest way to ensure project failure. Here’s what you need:
Cleaning Supplies:
Sanding Materials:
Priming Supplies:
Paint Options:
Hardware and Tools:
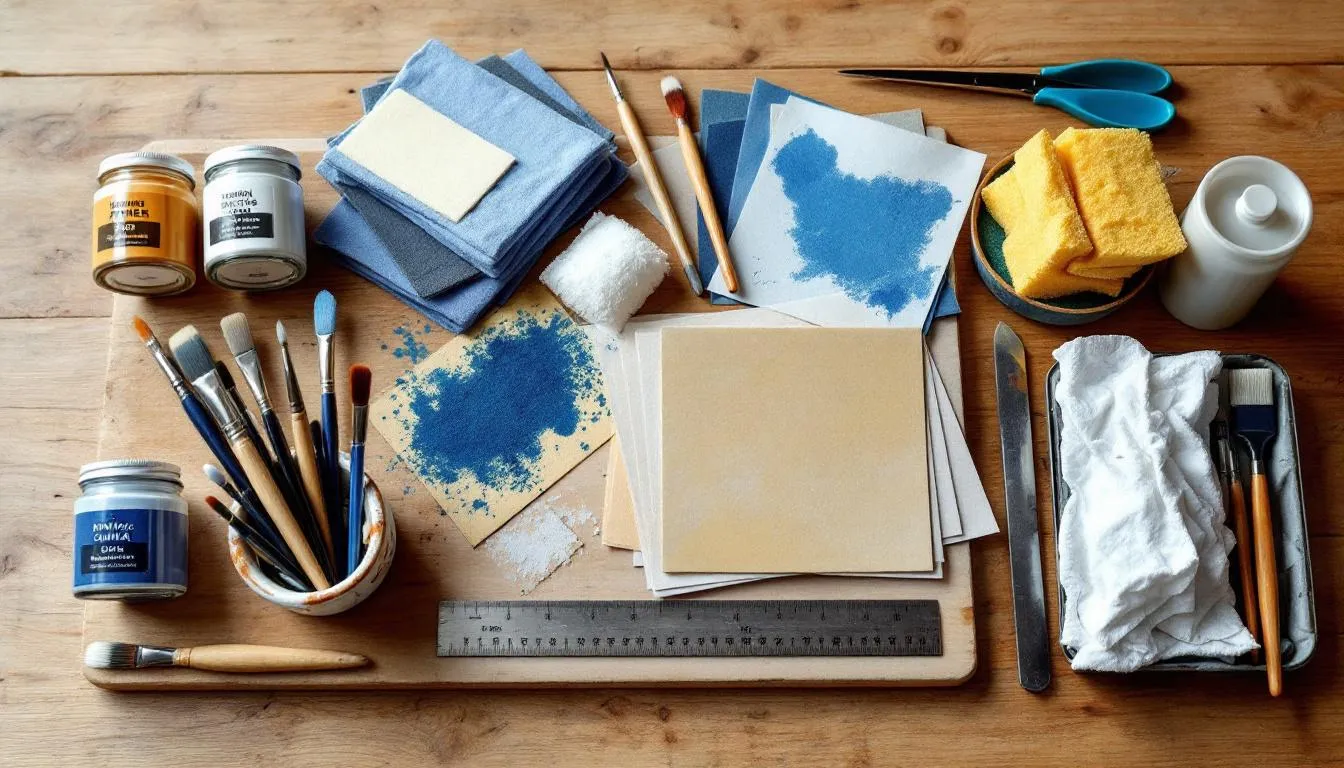
Proper organization during door removal prevents confusion during reassembly and ensures you don’t damage your cabinet doors during the painting process. Start by creating a numbering system using small pieces of painter’s tape—place matching numbers on each door and its corresponding cabinet opening.
Remove all hinges, handles, and drawer pulls using the appropriate screwdriver. Take photos of hardware placement before removal, as this helps ensure correct reinstallation. Store hardware in labeled bags if you plan to reuse it, or set aside old hardware if you’re upgrading to new pieces.
Set up your workspace in a garage or well-ventilated area with adequate lighting. Lay down drop cloths to protect flooring and create a clean environment. Position doors flat on sawhorses or a large table, ensuring you can access all surfaces easily. This setup becomes crucial when you start painting, as you’ll need to coat all sides of each door.
Remove drawer fronts if possible, as these benefit from the same treatment as cabinet doors. For drawers that can’t be easily removed, you’ll need to paint them in place, which requires extra care with drip protection and brush strokes.
Deep cleaning represents the most critical step that determines long-term paint adhesion. Laminate surfaces in kitchens accumulate layers of grease, cooking residue, and hand oils that act as a barrier between the primer and the laminate. Even microscopic amounts of these contaminants can cause primer failure months later.
Use TSP (trisodium phosphate) cleaner mixed according to package directions, or substitute with sugar soap for a less harsh alternative. Apply the cleaning solution with a damp cloth, working systematically across every surface. Pay special attention to areas around handles where hand oils concentrate, and zones near the stove where cooking grease accumulates.
The cleaning process requires two phases: initial degreasing with TSP solution, followed by thorough rinsing with clean water to remove all cleaner residue. Any remaining TSP can interfere with primer adhesion, making this rinse step crucial. Allow surfaces to dry completely—this means 24 hours in most conditions, longer in humid environments.
Complete the cleaning phase by wiping down all surfaces with a tack cloth to remove any remaining dust particles or lint from cleaning cloths. The surface should feel completely clean and free of any slick or sticky sensation when touched.
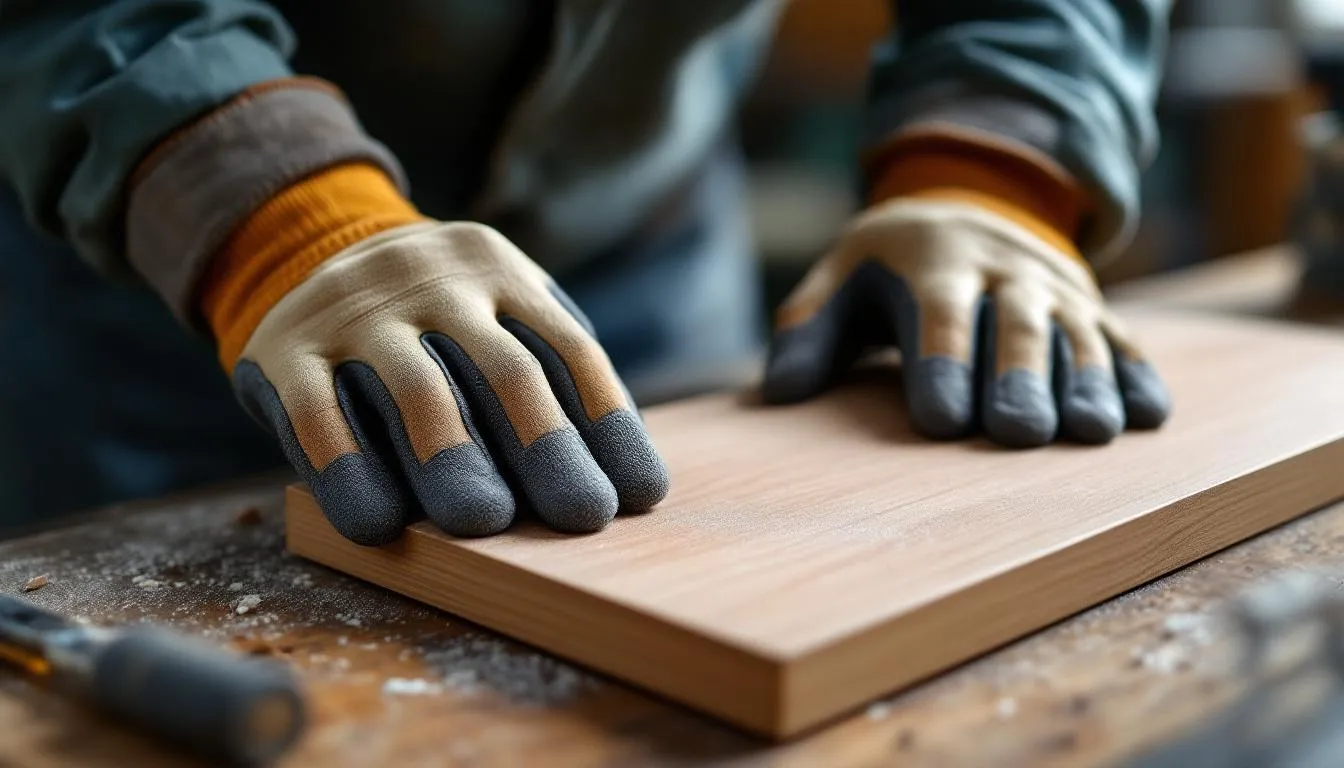
Light sanding creates the mechanical “tooth” that helps primer bond to the smooth laminate surface. Use 150-grit sandpaper and work in circular motions to avoid creating directional scratches that might show through the final paint coat. The goal is creating uniform surface texture, not removing laminate material.
Focus on scuffing the entire laminate surface rather than heavy sanding in specific areas. Over-sanding can breach the laminate layer and expose the underlying substrate, which creates absorption issues and potential swelling problems. You want the surface to feel slightly rough to the touch but still maintain its structural integrity.
After sanding, vacuum all dust using a brush attachment, paying attention to corners and crevices where dust accumulates. Follow up with a microfiber cloth to catch any remaining particles. The surface must be completely dust-free before primer application, as dust particles create bumps and adhesion problems in the final finish.
For areas with damage like chips or deep scratches, gently sand these smooth and apply wood filler as needed. Allow filler to dry completely and sand flush with the surrounding surface before proceeding to priming.
The bonding primer application determines the success of your entire project. Use a specialized laminate primer like INSL-X STIX or Zinsser Cover Stain—these products contain special resins formulated specifically for adhesion to non-porous surfaces like laminate furniture and cabinets.
Apply the good primer in thin, even coats using a high-quality synthetic brush for detailed areas and a mini roller for flat surfaces. Work systematically, maintaining a wet edge to prevent lap marks. The primer should go on smoothly without runs or heavy buildup—thick application doesn’t improve adhesion and can create texture problems.
Allow the primer to cure for the full recommended time—typically 24 hours for most bonding primers. Resist the temptation to rush this step, as inadequate curing compromises the chemical bond that holds your entire paint system together. Temperature and humidity affect curing time, so extend drying periods in adverse conditions.
If the primer surface feels rough after curing, lightly sand with 220-grit sandpaper to achieve a smooth base for paint. This step isn’t always necessary but helps ensure a flawless finish on your final coat. Remove all sanding dust with a tack cloth before proceeding to paint application.
Select a cabinet-grade paint like Benjamin Moore ADVANCE or Sherwin-Williams ProClassic for durability and smooth finish characteristics. These alkyd-acrylic hybrid paints offer the hardness of traditional oil-based paints with easier cleanup and lower odor levels.
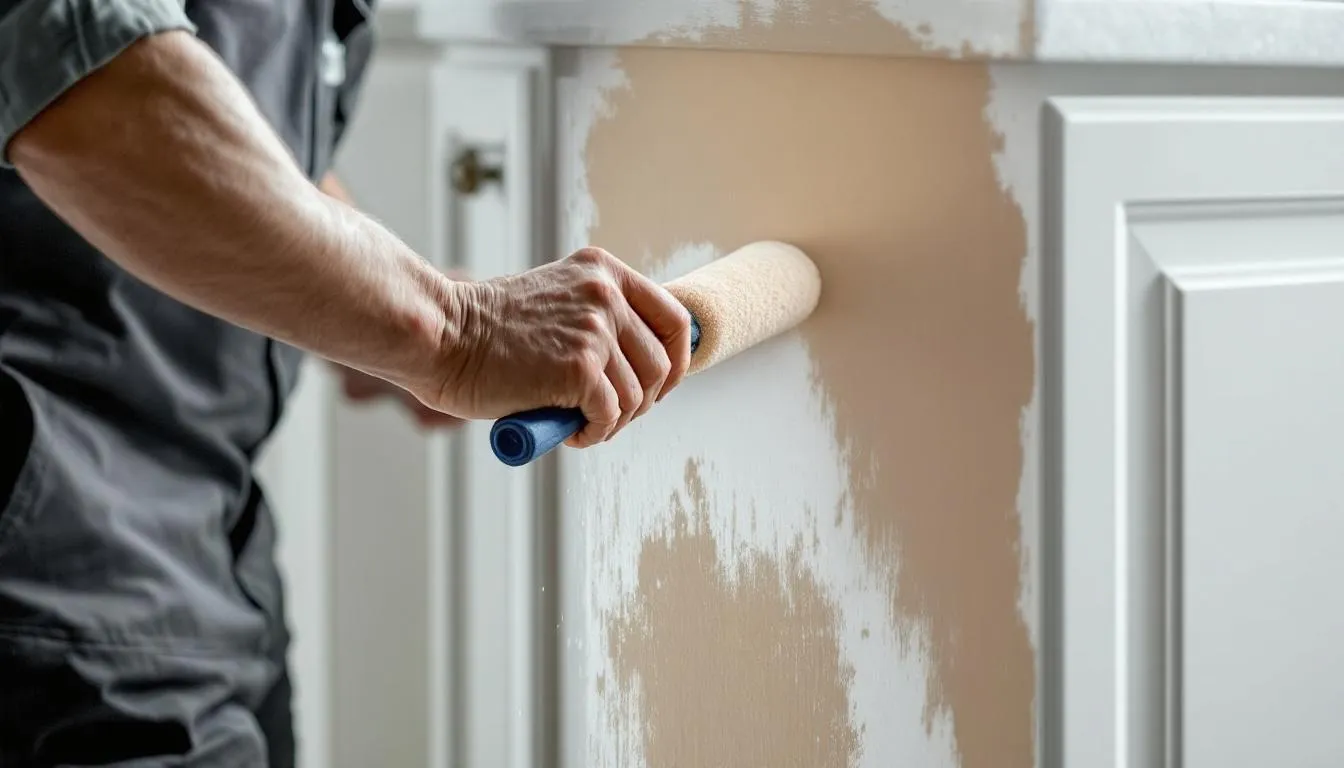
Apply multiple thin coats rather than attempting to achieve full coverage with thick applications. Start with door centers using a quality brush, working the paint into any texture or grain patterns. Follow immediately with a foam roller to achieve a smooth surface and eliminate brush strokes.
Work in sections to maintain wet edges and prevent lap marks. Complete each door or drawer front entirely before moving to the next piece. This systematic approach ensures consistent appearance and prevents the paint from drying with visible starting and stopping points.
Allow 6-8 hours between coats under normal conditions, extending this time in high humidity or low temperature environments. The second coat typically provides adequate coverage and durability, but apply a third coat if you notice any primer showing through or want maximum durability.
Use foam rollers specifically designed for smooth surfaces—these create an ultra-smooth finish on flat laminate areas that’s difficult to achieve with traditional paint brushes alone. The key is using the roller immediately after brush application while the paint remains workable.
Maintain consistent environmental conditions throughout the painting process. Ideal conditions include temperatures between 65-75°F with humidity below 50%. These conditions promote proper paint flow and leveling while ensuring adequate drying between coats.
Back-roll all painted areas lightly with a dry roller to eliminate any brush strokes or texture marks. This technique, used by professional painters, creates the seamless finish that distinguishes quality work from amateur attempts.
When painting raised panel doors or detailed cabinet fronts, work details first with a brush, then immediately smooth flat areas with a roller. This sequence ensures proper paint distribution in crevices while maintaining smooth surfaces on flat areas.
Allow painted cabinets to cure for 7-10 days before heavy use, even though the surface may feel dry to the touch much earlier. During this curing period, the paint continues hardening and developing its full durability characteristics. Rushing this process results in soft paint that dents, scratches, and shows wear quickly.
Reinstall hinges and hardware using original holes when possible. If upgrading hardware that requires new holes, use a backing board when drilling to prevent the laminate from chipping around hole edges. Mark hole locations carefully and drill slowly with sharp bits to ensure clean cuts.
When reinstalling cabinet doors, check for proper alignment and smooth operation. The additional paint thickness may require minor hinge adjustments to ensure doors close properly and sit flush with cabinet frames. Take time to make these adjustments—proper door operation is essential for long-term satisfaction.
For new hardware installation, measure carefully and use templates when possible to ensure consistent placement across all doors and drawers. Consider upgrading to soft-close hinges during reassembly, as these reduce wear on the paint finish and provide a more premium feel to your newly painted cabinets.
Skipping the primer step represents the most common and costly mistake when painting laminate. Regular wall primers lack the specialized resins needed for laminate adhesion, leading to paint failure within months regardless of surface preparation quality. Always use a bonding primer specifically designed for non-porous surfaces.
Using regular latex primer instead of bonding primer designed for laminate creates a weak foundation that compromises the entire paint system. Even with perfect surface preparation, standard primers simply cannot create adequate adhesion to smooth laminate surfaces.
Applying paint too thick seems logical but actually causes multiple problems including poor adhesion, extended drying times, and visible drip marks. Thick paint application also increases the likelihood of the top coat peeling away from the primer in sheets rather than wearing gradually over time.
Rushing the curing process by reassembling cabinets too quickly results in soft paint that shows every touch, bump, and scratch. Full chemical curing takes time, and there’s no way to accelerate this process safely. Plan your project timeline to accommodate proper curing periods.
Not cleaning grease thoroughly represents another critical error that prevents primer and paint from bonding properly. Kitchen environments create stubborn grease deposits that require aggressive cleaning with appropriate degreasers. Surface contamination is often invisible but always affects adhesion.
Clean painted laminate cabinets with mild soap and water only, avoiding harsh chemicals that can damage the paint finish over time. Many homeowners make the error of using kitchen degreasers or abrasive cleaners on painted surfaces, gradually wearing away the protective paint layer.
Avoid abrasive cleaners, steel wool, or scrub brushes that can scratch the paint surface and create areas where moisture can penetrate. Instead, use soft cloths or microfiber cleaning materials that clean effectively without damaging the finish.
Touch up chips immediately with matching paint to prevent moisture damage to the underlying laminate. Small chips can quickly expand if moisture penetrates behind the paint film, potentially requiring extensive repairs to affected areas.
Expect painted laminate cabinets to last 5-10 years with proper care before requiring refinishing. This timeline depends on usage patterns, cleaning habits, and environmental factors like humidity and cooking frequency. High-traffic areas around sinks and dishwashers typically show wear first.
The investment in quality materials and proper prep work pays dividends in longevity. Cabinets painted with premium bonding primers and cabinet-grade paints consistently outperform those painted with standard materials, often lasting twice as long before showing significant wear.
With proper technique and patience, you can achieve professional-looking results that transform your whole kitchen at a fraction of replacement cost. The key lies in respecting the process, using quality materials, and allowing adequate time for each step to achieve its intended result.