Installing kitchen cabinets yourself can be a smart way to save money on your kitchen remodel. However, It’s a project that requires careful planning and execution, even for experienced DIYers.
This guide will walk you through how to install kitchen cabinets from USA Cabinets, from prepping your walls to hanging your hardware. We’ll cover essential tools, materials, and techniques to ensure your cabinets are secure, level, and perfectly functional for your dream kitchen.
Tools and Materials
While it’s a meticulous process, you can install cabinets with the right arsenal of tools. Here are the essentials you’ll need to transform your kitchen from demolition zone to culinary haven.
Cabinet Installation Materials Checklist
Pry bar
Hammer
Tape measure
6’ level
8’ 2×4 board
Pen or pencil
Stud finder
Drill and driver
Screwdrivers
C-clamps
Cabinet hardware
Mounting hardware
Painters tape
1×2” ledger board
Wood shims
Screws
Safety glasses
Gloves
Optional:
Laser level
Cabinet hardware jig
Miter saw
Table saw
Pro Tip: Make sure to have a helper on hand to assist with lifting and holding cabinets in place.
1. Order Your New Cabinets
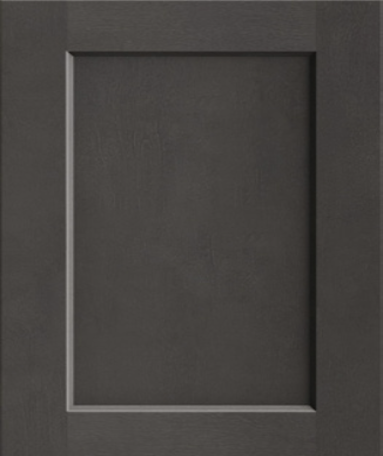
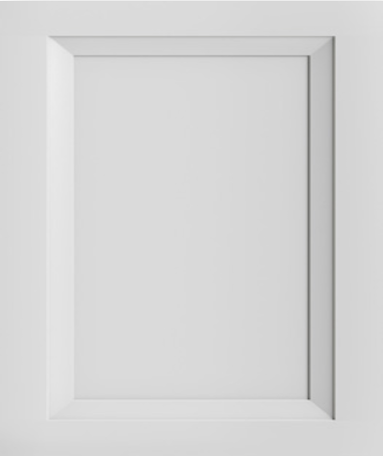
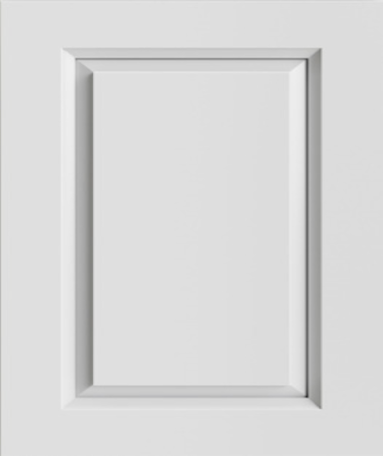
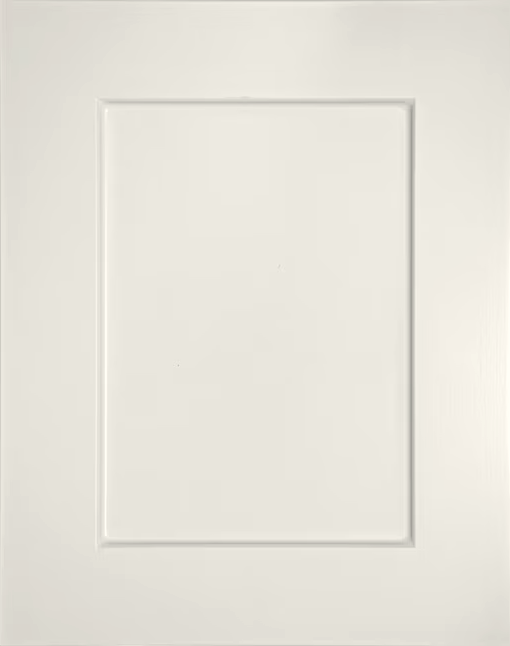
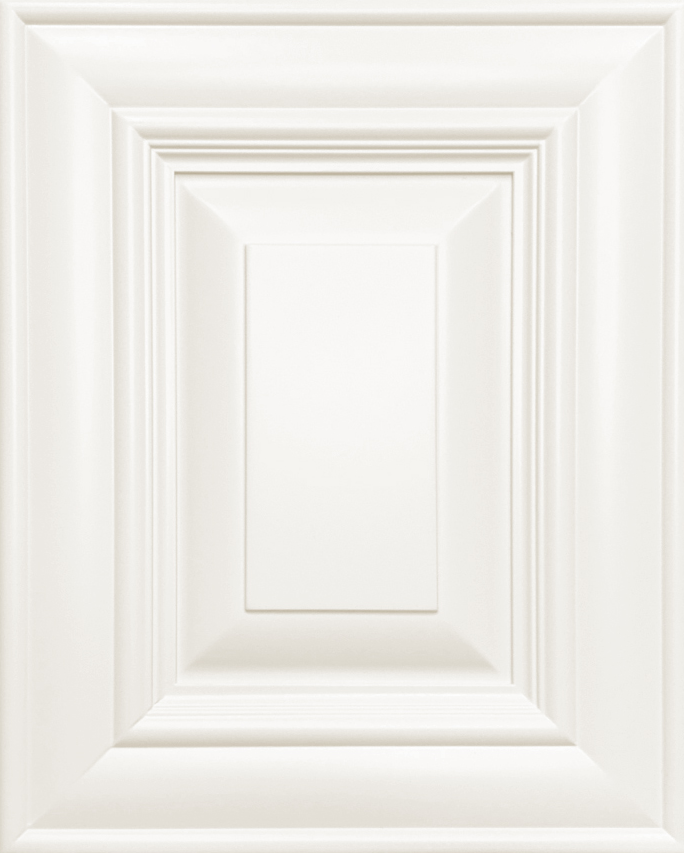
A kitchen remodel can breathe some much-needed life into your entire home, and new kitchen cabinets are an essential part of the design. From modern slab cabinets to traditional shakers, choosing the right cabinets for your space is the first step in bringing your dream kitchen to life.
But the color and style of your cabinets aren’t the only things to consider — if you’re shopping with us, you’ll also need to decide between assembled and ready-to-assemble (RTA) cabinets.
RTA cabinets will likely add an extra day to your project, as you have to assemble each cabinet before installing it. However, RTA cabinets can be shipped much faster because they’re packed in flat boxes. They’re also cheaper than pre-assembled cabinets.
On the other hand, you’ll need to do less work when ordering cabinets pre-assembled. No matter the choice, you can rest assured you’re getting a high-quality product that’s sure to add both style and function to your space.
Pro Tip: If you don’t plan on changing your kitchen layout, measure your existing cabinets before ordering your new cabinets to make sure you order the right size.
2. Demo Your Existing Cabinets
Turning your existing kitchen into a blank slate is the first step to make way for your new cabinets. To start:
Remove the contents of your cabinets and doors. This is also a great time to throw out any expired food and upgrade your storage containers!
Tackle the doors, drawers, and hardware. Set the hardware aside if you plan to reuse them on your new cabinets.
Shut off the water and electricity. Disconnect the plumbing and electrical lines feeding the sink, dishwasher, and other appliances, and label the lines for easy reconnection later.
Remove your old cabinets and countertops. Start with the base cabinets and work your way up to the uppers. A pry bar and hammer may be helpful, but be mindful of damaging your walls. Depending on the condition of the cabinets, you might be able to donate them.
Once the old cabinets are out, you can remove your backsplash if you also plan on updating that. Keep in mind that demolition creates dust and debris, so be sure to cover your floors and protect yourself with a mask and safety glasses.
3. Inspect Your New Cabinets
We make every effort to ensure your cabinets arrive in perfect condition; however, damage may occur during shipping. To avoid unfortunate surprises during installation, inspect the order immediately upon arrival. Here are a few tips to ensure a positive experience:
Take note if you suspect hidden damage due to visibly damaged shipping boxes.
Check for missing or damaged items. If you notice any issues, indicate them on the driver’s bill of lading (the receipt you’re handed upon delivery).
File your claim within seven days of delivery. We’ll honor and replace or repair your cabinets as soon as possible (average lead time is 7-14 business days).
Pro Tip: Have an issue with your order or need help installing your cabinets? Contact us for expert support.
4. Prepare Your Space for Installation
Imagine your cabinets as a perfectly tailored suit — for them to fit flawlessly, the foundation needs to be immaculate. Nobody wants unnecessary holes in the walls or crooked kitchen cabinets, so it’s important to carefully mark and measure your space before whipping out the drill.
Here’s how to prep your kitchen for cabinet installation:
Find the highest spot on the floor. Place a level on a 2×4 board and push it flush against the wall you plan on installing your base cabinets. Slightly move the board until it’s level, then mark the spot on the wall and draw a leveled line along the wall. Use a tape measure to find the shortest distance between the pencil line and your floor. This spot marks the highest floor point.
Mark the top of your base cabinets. Base cabinets are typically 34 ½ inches tall without the countertop. Measure 34 ½ inches from the highest floor point up the wall and mark the spot with your pencil, then draw a leveled line. You can dry-fit the base cabinets at this point to add additional marks for the length of each cabinet box on your walls. Don’t forget to indicate the spaces for your appliances.
Mark the bottom of your wall cabinets. You’ll want your upper cabinets to hang at least 18 inches above your countertop to leave room for a standard-height backsplash. Kitchen countertops are usually between 1 ¼ inches and 1 ½ inches tall. To mark the right spot, draw a leveled line 19 ½ inches above the top line you just drew for your base cabinets (or 54 inches above your highest floor spot). Extend the line for as long as your upper cabinetry will run along the wall.
Locate and mark studs. Use a stud finder to locate the studs in your walls. You’ll need them to secure your cabinets to the wall. Once you’ve found the stud, draw a line down the wall with your level to clearly indicate the location. If you have to resort to mounting cabinets into drywall, use toggle bolts for a secure installation. In a home with concrete walls, you can skip this step and instead pre-drill ¼-inch holes for #10 wall anchors that will hold your screws and cabinets.
5. Assemble Your Cabinets (If Necessary)
This step will vary depending on whether you ordered RTA or pre-assembled cabinets.
If you ordered RTA cabinets, it’s best to assemble them before starting installation. This way, you’ll have the opportunity to dry-fit the cabinets in your space and double-check that they weren’t damaged during shipping. For an easier workflow, wait to attach the cabinet doors and drawers until the cabinet boxes are installed.
If you ordered assembled cabinets, we recommend detaching doors and drawers before installing your cabinets. You can use masking tape and a marker to label them. This will make reattaching the doors and drawers easier once your kitchen is fully installed.
6. Hang Your Upper Cabinets
You’ll want to start installing your wall cabinets first. While this task may be a bit more difficult because it involves lifting cabinets above your head, you’ll be thankful later that you don’t have to lean over your already installed base cabinets.
To install upper or wall cabinets, we recommend the ledger board technique. A ledger board is a support board you can screw into the marked studs to temporarily secure the weight of your upper kitchen cabinets. Follow these steps:
Screw a 1×2-inch ledger into the studs you’ve marked on your walls. Align the top of the ledger with the level line for your upper cabinets.
Drill holes at the top, middle, and bottom of the cabinet back. If you have electrical outlets that will be covered by the cabinets, measure them and create a cutout in the cabinet backs in the shape and size of the outlet.
Start with the corner cabinet. It’ll be your guide for the remainder of the kitchen cabinet installation.
Place the cabinet on the ledger and mount it in place with 3-inch screws. Screw deep enough to hold the cabinets, but wait to tighten them until all cabinets are in place.
Use your level to ensure the cabinet is installed correctly. If your cabinets aren’t even, use shims (a thin piece of wood) in the back to fit the cabinet plumb to the wall.
Continue with the next cabinet by aligning it with the first one. Secure the cabinet fronts with clamps so they’re perfectly even, then drill the cabinet into place just like before.
Screw the second cabinet to the first to secure them together. If you’re installing framed cabinets, you’ll want to screw them together by the face frame with 2 ½-inch screws. For frameless cabinets, you’ll need 1-inch or 1 ¼-inch screws so you don’t damage the cabinet boxes when attaching them.
Once your upper cabinets are installed, tighten all the screws and unscrew the ledger you used for support. Then patch the holes in the wall. If you’re planning to install a backsplash, you won’t have to worry about a clean finish.
Pro Tip: You can attach two or more upper cabinets together before installing them on the wall, but you should never pre-attach more cabinets than you can safely lift.
7. Install Your Base Cabinets
Once your wall cabinets are installed, you can move onto the base cabinets. Again, we recommend starting with the corner cabinets to make installation easier. The steps remain the same:
Drill holes at the top, middle, and bottom of the cabinet back. Add any cutouts you’ll need for electrical outlets or wiring.
Mount the cabinet in place with 3-inch screws and secure the cabinet into the stud. Don’t tighten the screws all the way yet.
Use your level to ensure the cabinet is installed correctly,and add shims behind or underneath the cabinet box if it doesn’t fit plumb against the wall.
Align the next cabinet and secure it to the installed corner cabinet with clamps.
Screw the aligned cabinet into the stud, ensure it’s leveled, and then attach the two cabinets with screws (2 ½-inch for framed cabinets and 1-inch or 1 ¼-inch screws for frameless cabinets).
Continue this workflow until all base cabinets are screwed in place.
8. Add Filler Strips and Trim
To conceal small gaps between your cabinets and the wall, you can install cabinet filler strips. Follow these step-by-step instructions for a clean finish:
Measure the width of the gap you want to conceal at the top and bottom of the cabinet.
Cut the filler strip to the height of your cabinet with a miter saw.
Cut the strip to a slightly wider width than the widest point of the gap using a table saw.
Dry-fit the strip against the wall and clamp it to the cabinet. Then use a scribing tool and pencil to transfer the contour of the wall onto the filler strip.
Take the strip off the wall and sand it down with a belt sander until it fits the gap perfectly.
Reclamp the strip and screw it into place.
If you want to install trim or crown molding on your cabinets, now is the time! Crown molding or trim can elevate your kitchen design or help fill a small gap between your upper cabinets and the ceiling to avoid collecting dust in an unusable space.
Pro Tip: If you need an in-depth tutorial, check out our full guide on installing crown molding on your kitchen cabinets.
9. Install Doors, Drawers, and Hardware
With all your cabinet boxes in place and tightly secured to the walls, it’s time to attach the doors and drawers.
If you ordered assembled cabinets, reference the indications you made with masking tape to match the doors to their cabinet boxes.
RTA cabinets are already labeled,so it will be easy to attach the drawers and doors to the correct cabinets.
Once the doors and drawers are in place, check if everything is leveled and make any necessary adjustments.
The final touch is the hardware. Because your cabinet hardware is such a substantial feature in your kitchen, we have a full guide on installing hardware, including placement guides and design inspiration.
Pro Tip: Take your time with these final touches. Cabinet knobs or pulls (or both) can make a big difference in your finished kitchen design. Dry-fitting different samples on your installed cabinets can help you make a final design decision.
How to Install Kitchen Cabinets FAQs
Still hesitant about installing kitchen cabinets yourself? We answered a few common questions to help you get a jump-start on your project.
Do you install flooring before or after kitchen cabinets?
It’s generally recommended to install kitchen flooring before cabinets. This way, the flooring can slide underneath the cabinets for a clean, finished look and avoids the need to cut around the base of the cabinets later.
What screws are best to hang kitchen cabinets?
The best screws to hang kitchen cabinets are 3-inch #10 screws that go directly into the wall stud. If you can’t screw into a stud, install toggle bolts on your drywall for a secure installation.
To screw your kitchen cabinets into concrete walls, pre-drill ¼-inch holes and install #10 wall anchors before screwing the cabinets into place with 3-inch #10 screws. To attach your cabinets together, use 1-inch or 1 ¼-inch screws for frameless cabinets or 2 ½-inch screws for framed cabinets.
Should I install upper or base cabinets first?
Installing upper cabinets before base cabinets is recommended. This way, you won’t have to lean over your base cabinets to secure and level your wall cabinets.
Do I need to pre-drill holes for cabinet screws?
Pre-drilling holes is crucial to prevent splitting the wood, especially when attaching cabinets to studs. It ensures a stronger and cleaner installation.
With careful planning, the right tools, and these helpful tips, installing your kitchen cabinets can be a rewarding DIY project. Remember, take your time, prioritize safety, and don’t hesitate to consult a professional if needed. The satisfaction of a beautifully transformed kitchen, accomplished by your own handiwork, will make the effort well worth it!
Ready to take on your DIY remodel? Shop our selection of premium RTA and assembled kitchen cabinets to get started.
As an immigrant family arriving in this country with nothing but hope and determination, we learned the value of hard work and the meaning of dreams. My mother always dreamed of having a beautifully remodeled kitchen—a space to cook, gather, and create memories. But like many, we were led to believe that kitchen remodeling was out of reach, reserved for those with deep pockets.
As I grew older and entered the wholesale industry, I uncovered a hidden truth: the inflated MSRP retail prices were a scam that kept people from achieving their dreams. I realized that with access to true wholesale pricing, affordable kitchen remodeling wasn’t just possible—it could become a reality for families like mine.
USA Cabinets was born from a mission to make kitchen remodeling accessible and affordable. We specialize in providing high-quality cabinets at wholesale prices, helping families transform their kitchens without breaking their budgets. What was once a distant dream for my mother has become a fulfilling way for me to help others create the heart of their homes.
Let us help you make your dream kitchen a reality—without the scam, without the stress, and always at a price you can afford.
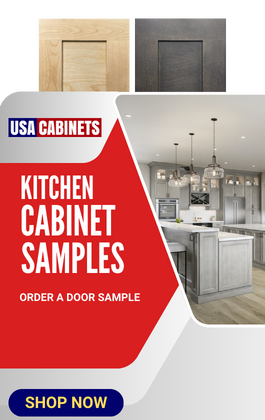
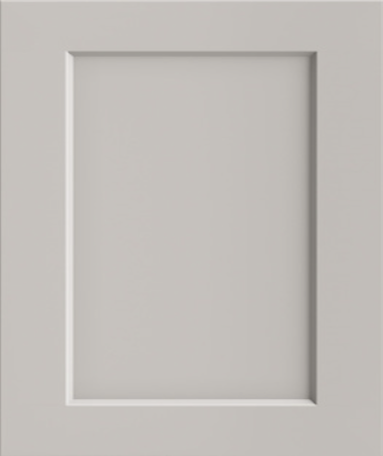
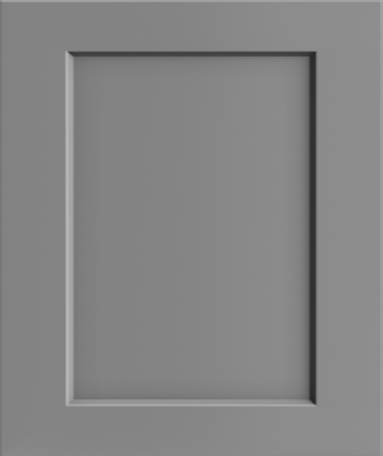
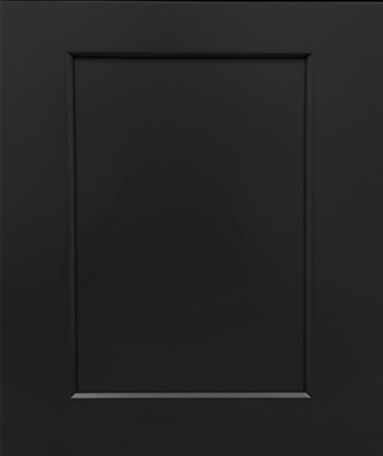
100% Free Door Sample
Want a Free Cabinet Door Sample?
See the quality for yourself—order a free sample to your door.
Whether you’re working on your own home or managing projects for clients, we’ve got you covered
Tell us a bit about you to get started:
Sale
12% off
Enter your email to receive a coupon code to be entered at checkout
USA12%
Enter the coupon code USA12% at checkout to redeem.